
DIY: Pumpkin Centerpieces
Come fall, we can't wait to get our hands on some pretty pumpkins. Whether you're carving them, painting them, or eating them (pumpkin pie, anyone?)-- we're obsessed with all things pumpkin. Although we may be a bit too old to prance around as princesses and pirates in October, pumpkins know no age. Decorating pumpkins allows us to channel our inner creative-goddess, without the mess of jack-o-lantern guts.
So where do you start-- paint, glitter, ribbon, feathers, lace, faux spider webs? We went with a bohemian inspired pumpkin centerpiece to spice up our fall festivities. Join us for an easy peasy pumpkin DIY (do it yourself).
What You Will Need:
Pumpkin(s)-- any size, shape, or color will work (we chose a medium-sized white pumpkin)
A sharp knife and spoon, or pumpkin carving kit
A bouquet of flowers (we stuck with a neutral color scheme)
A mason jar or small vase
Twigs and feathers (optional, used to embellish)
Miniature pumpkins
Metallic gold spray paint
Newspapers for an easy clean-up (you'll thank us later)
Directions:
1. Spray your mini pumpkins with the gold spray paint and set aside to dry
.jpg)
2. With the knife (or carving tools), cut a small circle in the top of your pumpkin
3. detach the top (lid) from the pumpkin and set aside
4. Hollow out the pumpkin
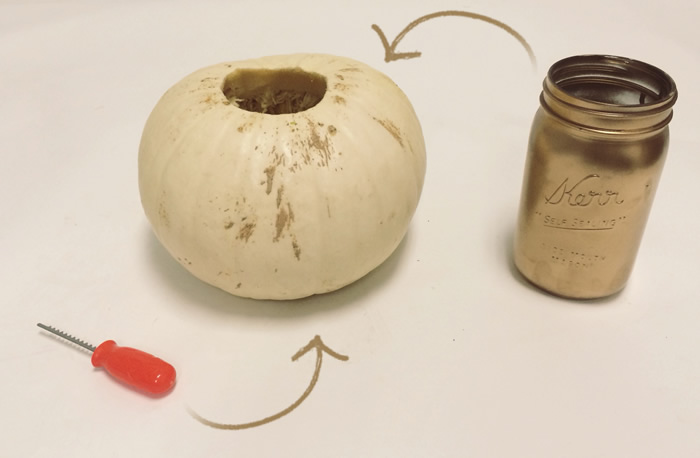
5. Place the mason jar, or vase, inside the pumpkin and fill with water
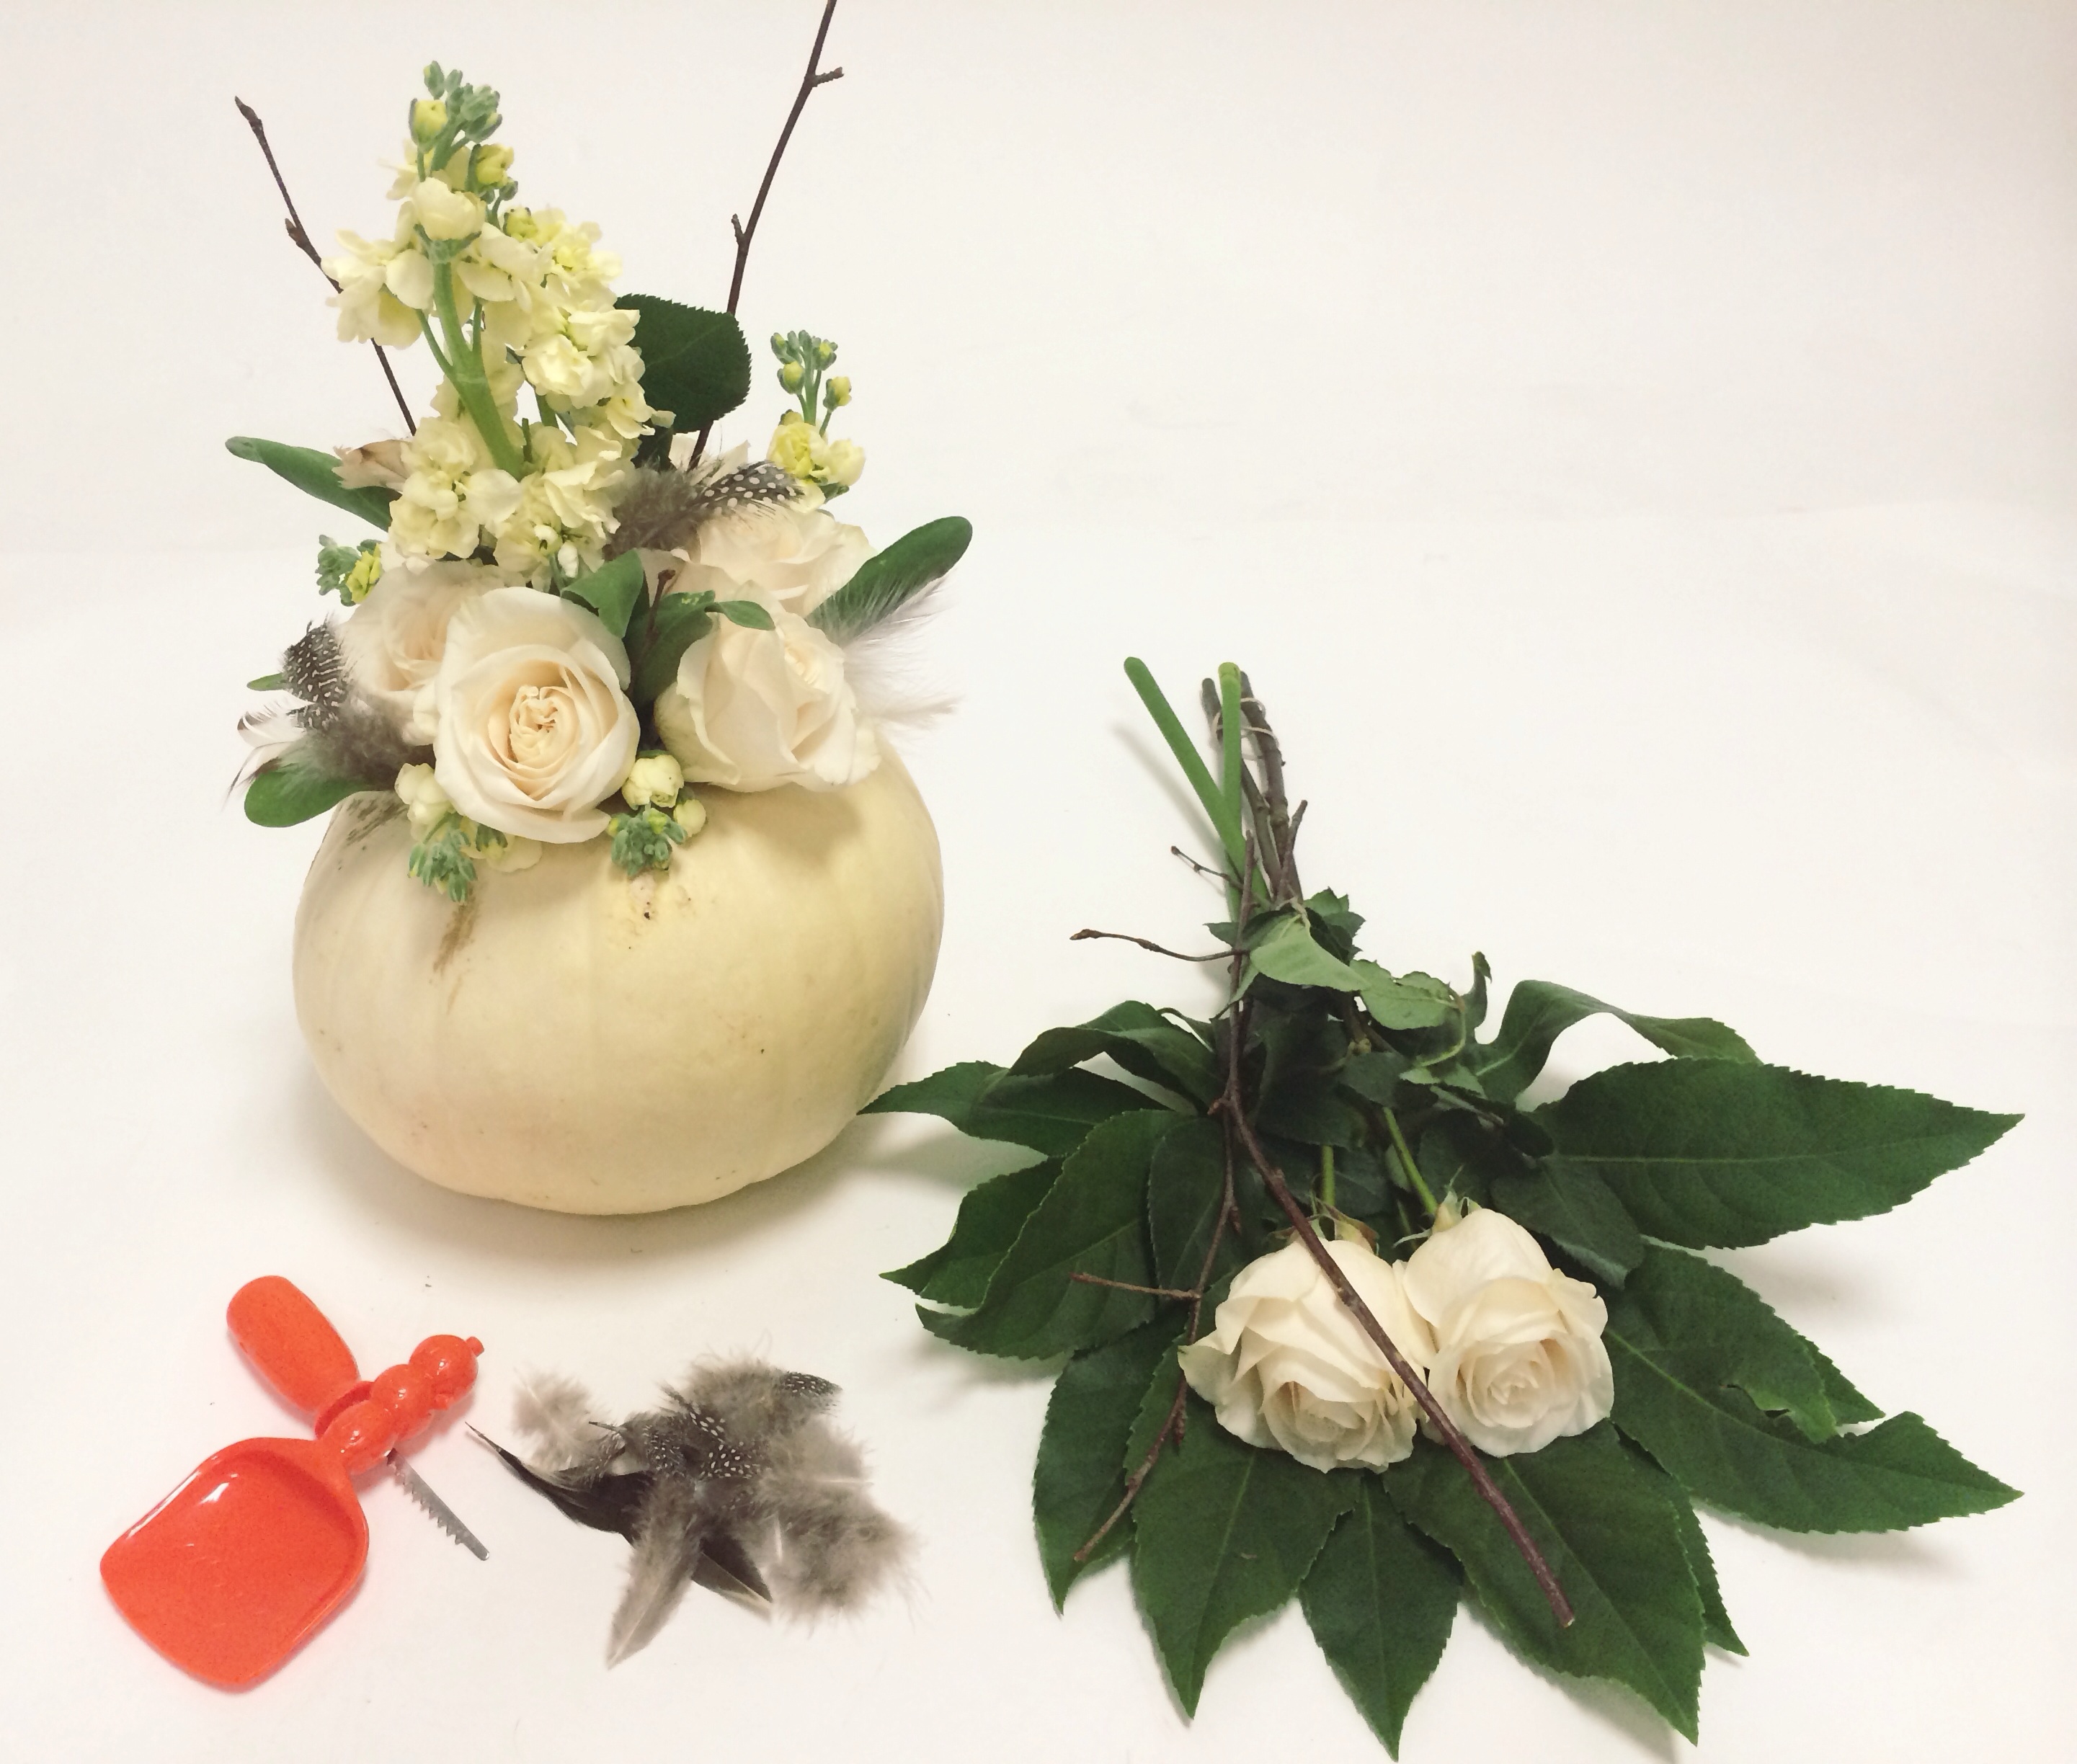
6. Cut the stems of your flowers to a desirable length
7. Begin arranging your flowers
8. Optional: add twigs and feathers into your flower arrangement
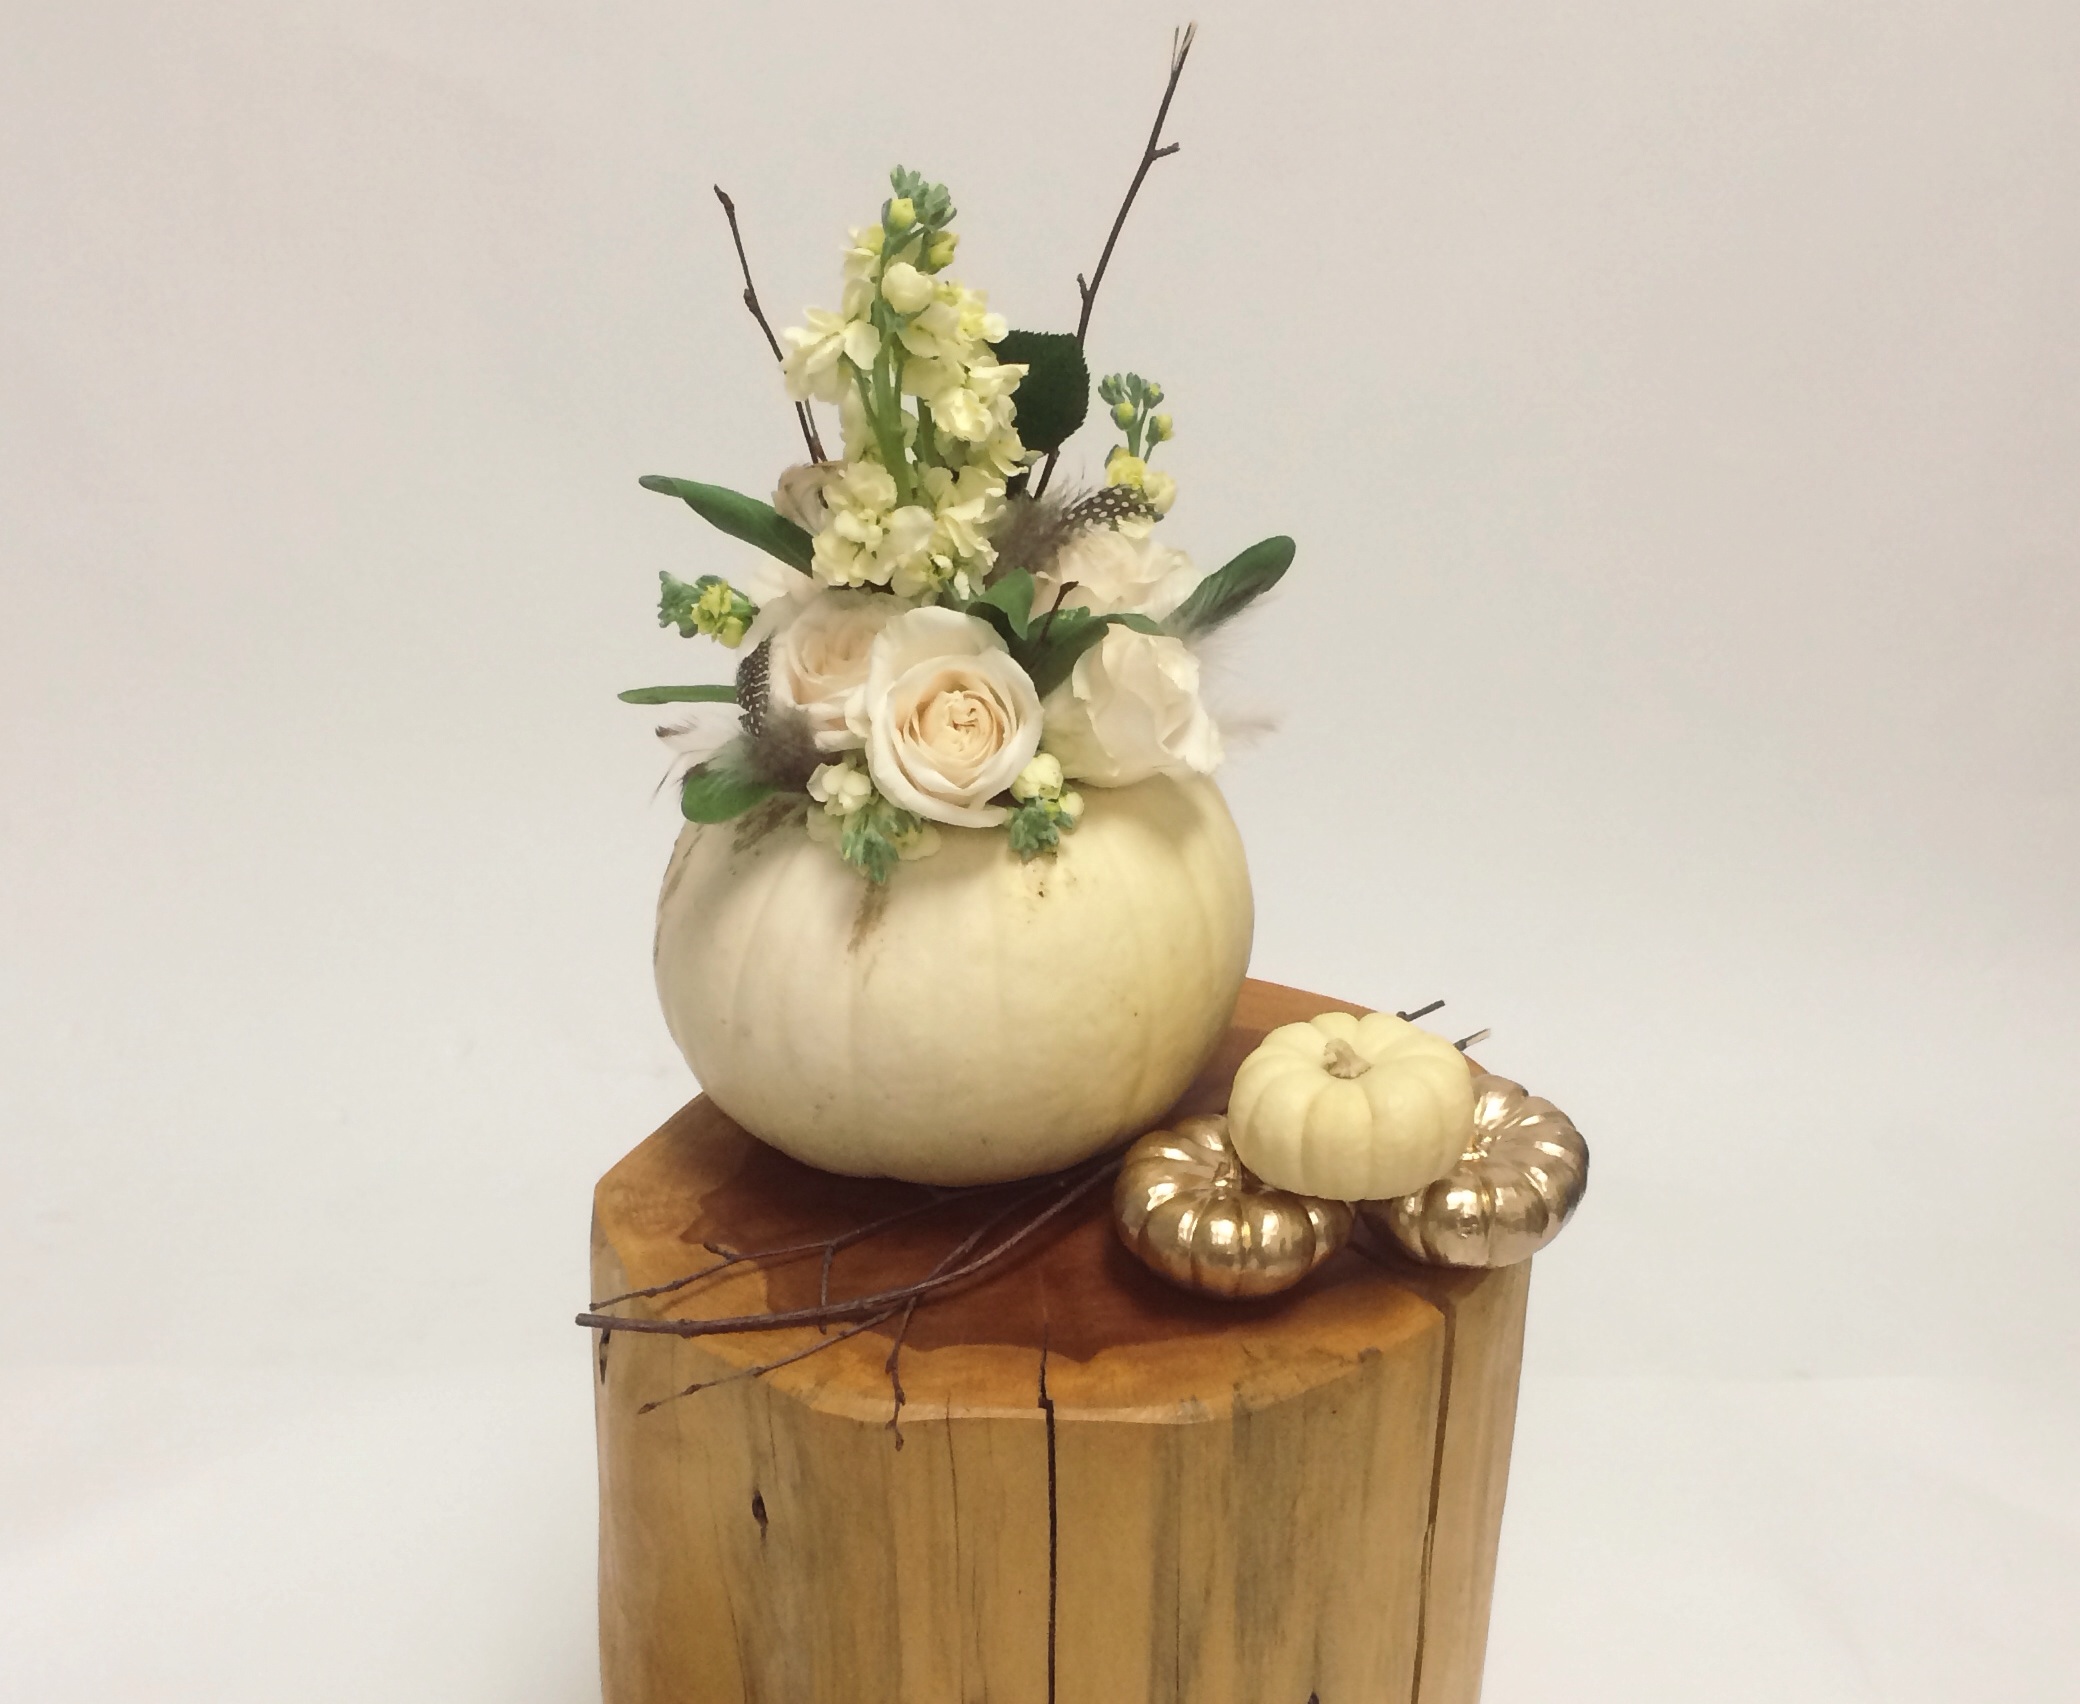
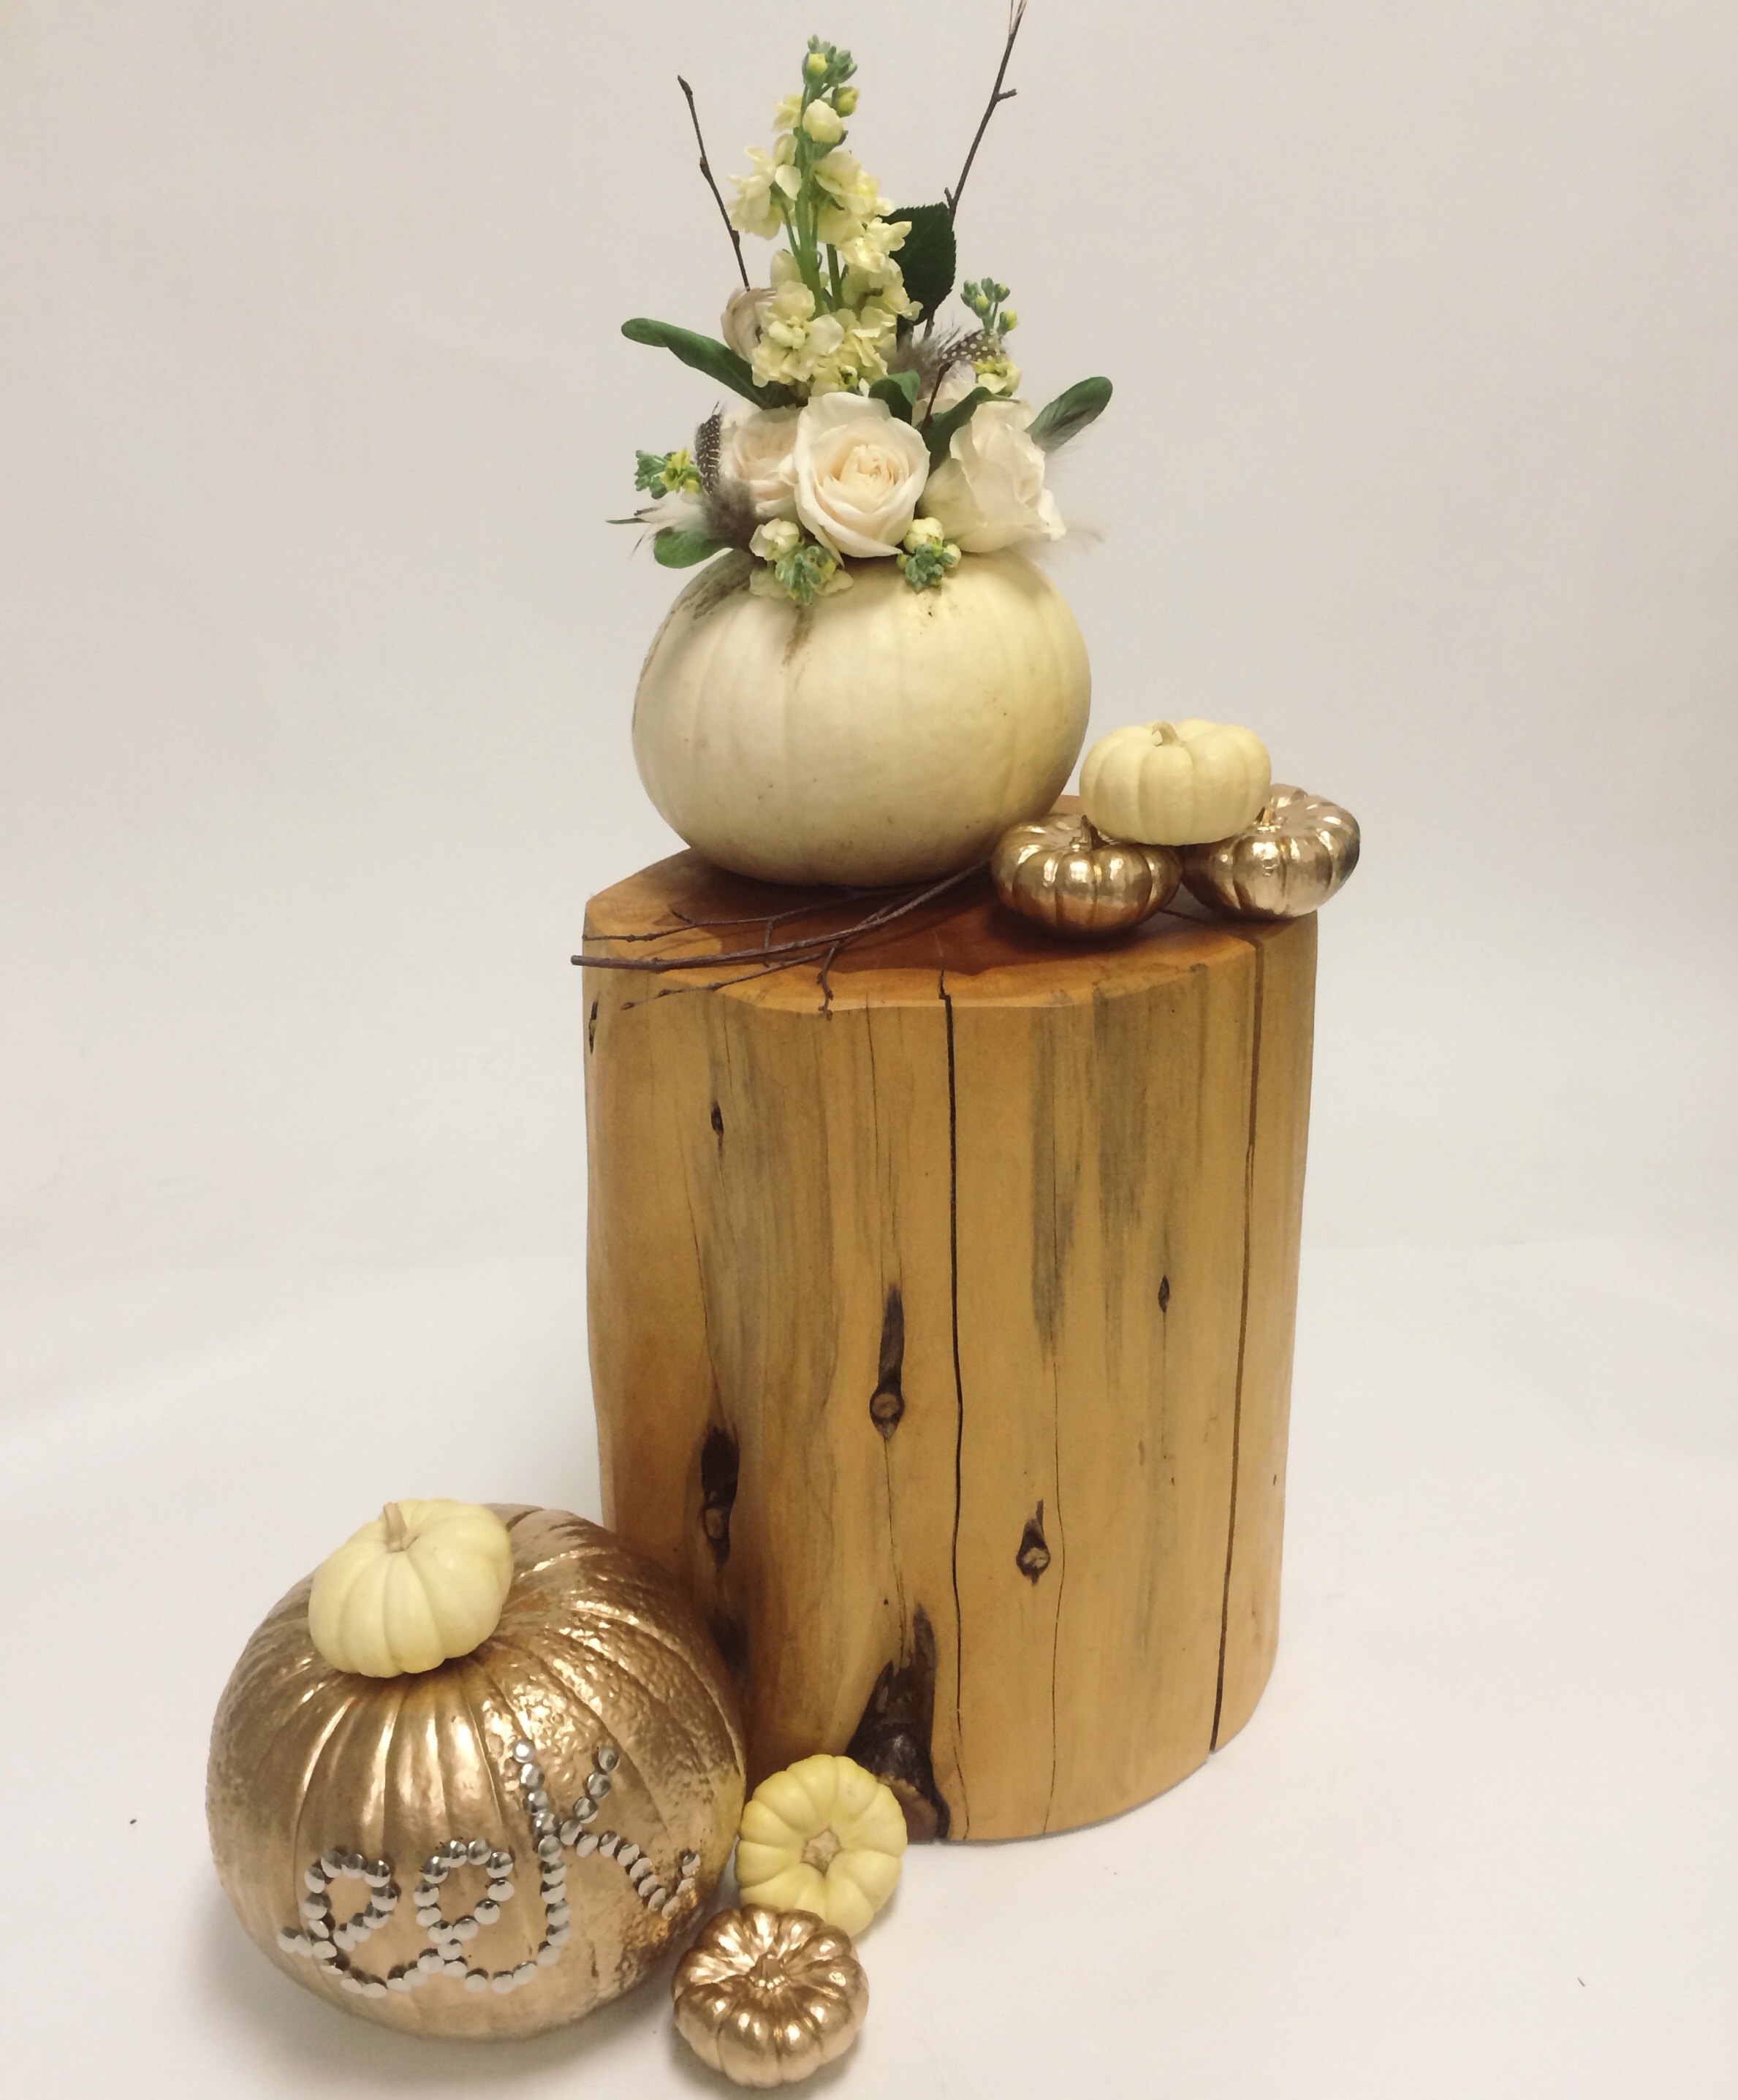
9. Place your pretty pumpkin on a table, or stand (we chose a tree stump for a hippie-chic look)
10. Scatter your gold mini-pumpkins around your main pumpkin
11. Add leaves, twigs, feathers to the table (or stand) for extra pizazz
Put on your favorite yoga pants, light your yummiest fall candle and get crafting. Happy October, warriors!


